Surgical drapes
BARRIER supplementary drapes
Table covers, equipment drapes, fluid collection pouches and instrument bags
 Microscope drape


BARRIER® supplementary products complement your patient drapes in the OR, helping to minimise the risk of bacterial contamination.
We understand it can be difficult and even impossible to sterilise all the equipment you use in the OR. Our wide range of supplementary products, such as covers for tables and equipment, fluid collection pouches and instrument bags are to complete your sterile draping.
- Impermeable to prevent strikethrough – and help protect equipment from fluids
- Allows sterile handling of equipment that cannot be sterilised
- Easy for one person to drape
- Wide range of products provides protection for most OR equipment
- Can be included in Mölnlycke procedure trays to support OR efficiency
BARRIER table covers
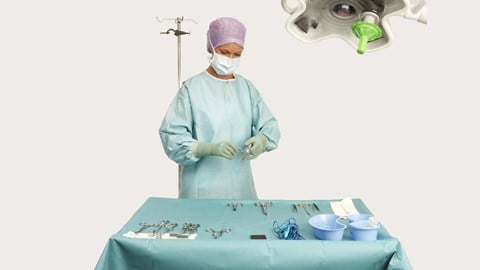
The BARRIER range of table covers are made of strong and durable materials for reliable quality. The impermeable and effective absorption layer prevents the working surface from strikethrough and contamination.
BARRIER table covers come with integrated tapes – and they are carefully folded and packaged for quick and easy fixation and handling.
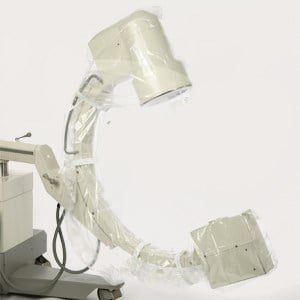
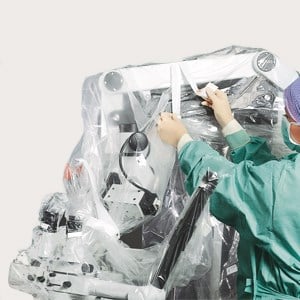
BARRIER equipment drapes
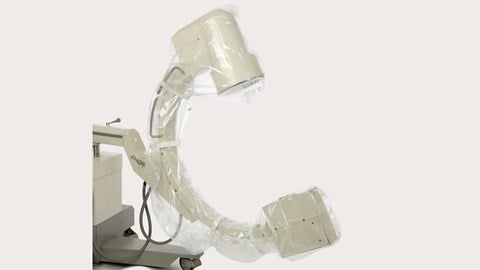
The BARRIER range of equipment drapes and covers fits the most commonly used pieces of O.R. equipment, such as microscopes, C-arms, ultrasound probes, light handles, tubes and cameras.
BARRIER equipment drapes are designed to reduce the risk of infection, help protect the equipment against fluids and to be handled easily.
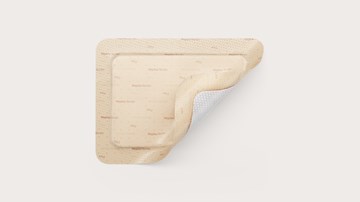
BARRIER incise films
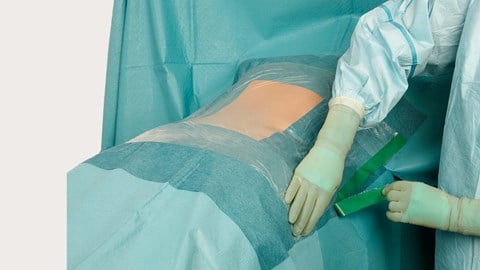
BARRIER incise films act as barriers between the patient's skin and the wound. This provides a sterile surface around the wound edge both before and during surgery, to minimise the spread of bacteria. Incise films also protect the skin surface from scratching as well as damage from retractors. In addition they help keep the other draping material in place.
BARRIER incision films adhere well to the skin while remaining comfortable during surgery and on removal. Good breathability prevents moisture build-up and improves patient comfort. They are free of known allergens and offer good drapability even in more delicate areas. Thanks to appropriate finger lifts, they are flexible and easy to apply.
Further product information
When to use BARRIER supplementary drapes
- To complement your sterile draping
- To cover equipment in the OR that cannot be sterilised.
How to use BARRIER supplementary drapes
Draping instructions for BARRIER C-arm drapes
 Hold the C-arm Drape in the right direction (see pictogram).
 Unfold the drape until you see the pictogram on the right side.
 Place the C-arm in a horizontal position. Stick your left hand in the fold (see pictogram). Unfold the right side of the drape as far as possible.
 Cover one side of the C-arm (left).
 Remove the paper wrap. Unfold this part as far as possible as well. Put your hands in the fold and cover the other side of the C-arm.
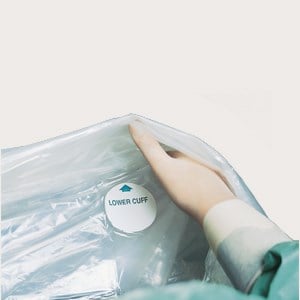
 Cover the middle part of the C-arm. The circulating nurse puts all the hooks and loops together on the back (see next picture). Use the adhesive belts to keep the drape in place.
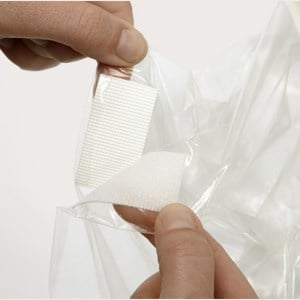 Hook and loop.
 Turn the C-arm back to a vertical position again.
Draping instructions for BARRIER microscope drapes
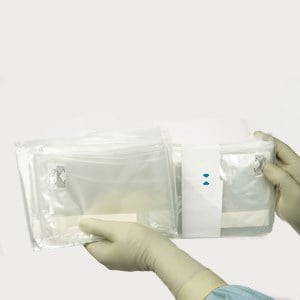
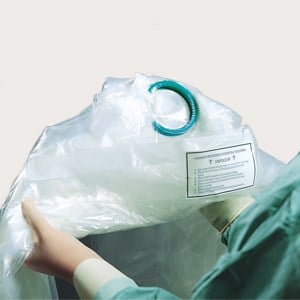
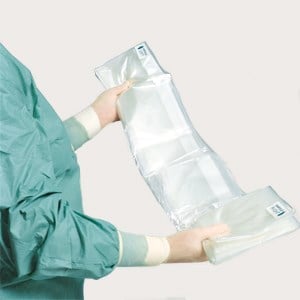 Fold out the microscope drape according to the label instructions.
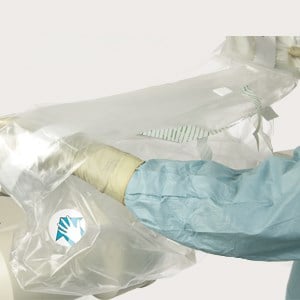
 Put your right hand by the label that says ‘right hand’ 2.
 Take a firm grip of the lens cover.
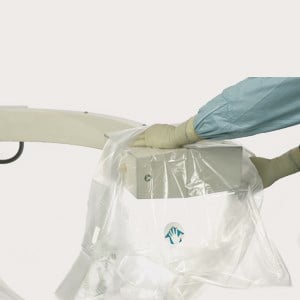
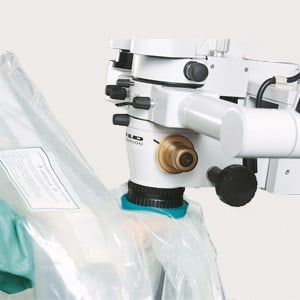 Put the lens on the microscope objective lens.
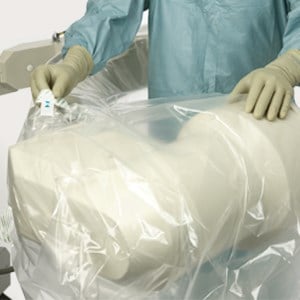
 Put your left hand by the label that says ‘left hand’ and pull the drape over the microscope.
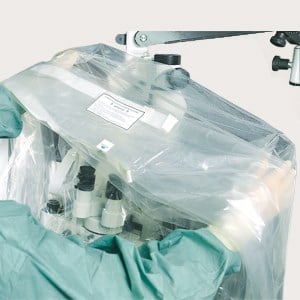
 Pull the drape around the oculars and close with the Velcro.
 Tie-up the microscope drape with the tape strips.
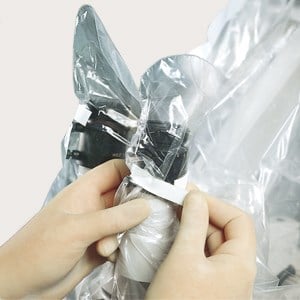
 Pull off the perforation by the oculars.


